Protecting Norwegian National ID Number with Azure Information Protection and RMS
In Norway we have a National Identification Number which is an 11-digit personal identifier, which also is referred to a Birth Number as this is given to every Norwegian borned at birth. The number consists of:
- 6 first digits are birth date in the form of: ddmmyy
- 3 next digits are personal, with the last of those 3 indicating whether you are male (odd number) or female (even number)
- The last 2 digits are control digits, based on modulus functions on the first digits
(Source: http://www.skatteetaten.no/en/person/National-Registry/Birth-and-name-selection/Children-born-in-Norway/National-ID-number/ ) The special thing about Norwegian National ID Numbers are that they are not only used for personal identification, but also in some official scenarios is used for source of authentication. This makes this ID number highly sensitive, and should not be shared around in for example documents and emails. In this blog post I will look at how Azure Information Protection can automatically detect and classifiy documents that contains the Norwegian National ID Number, and more over how we can use Azure Rights Management Services (RMS) to automatically apply a RMS template which encrypts and sets permissions for these classified documents. I will show this step by step, so read on for details.
Activate Azure Rights Management Services and Azure Information Protection for your Azure AD
The requirement for setting this up is that you have a Tenant with an Azure AD Directory, and licensed with EMS Suite (E3 or E5), Secure Productive Enterprise (SCE) or Azure Information Protection P1 or P2 licenses. You will need the EMS E5/AIP P2 if you want to be able to automatically classify and label documents, as E3/P1 only enables users for manual classification and labeling. You can get EMS E5 trial licenses if needed.
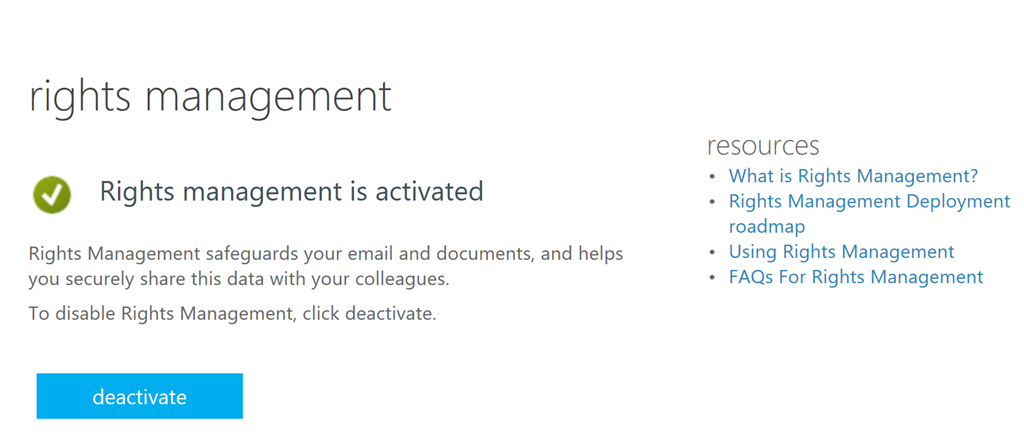
To active Azure RMS, if you havent already done this, go to: https://account.activedirectory.windowsazure.com/RmsOnline/Manage.aspx
If you get this message you are OK to proceed to next step:
Configure Classification and Labeling
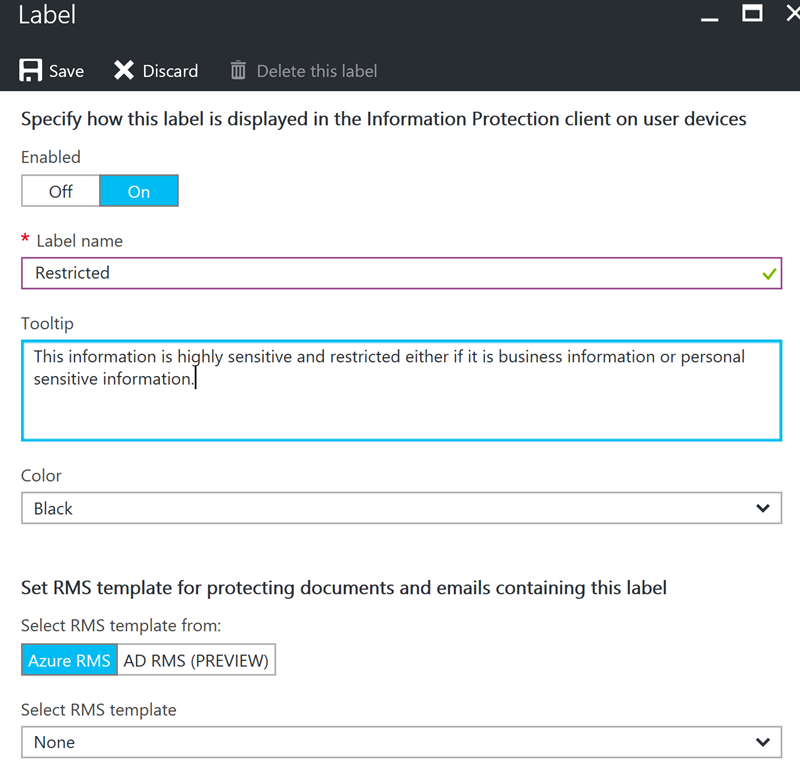
In this step we will configure the classification and labeling for the Norwegian National ID Number.
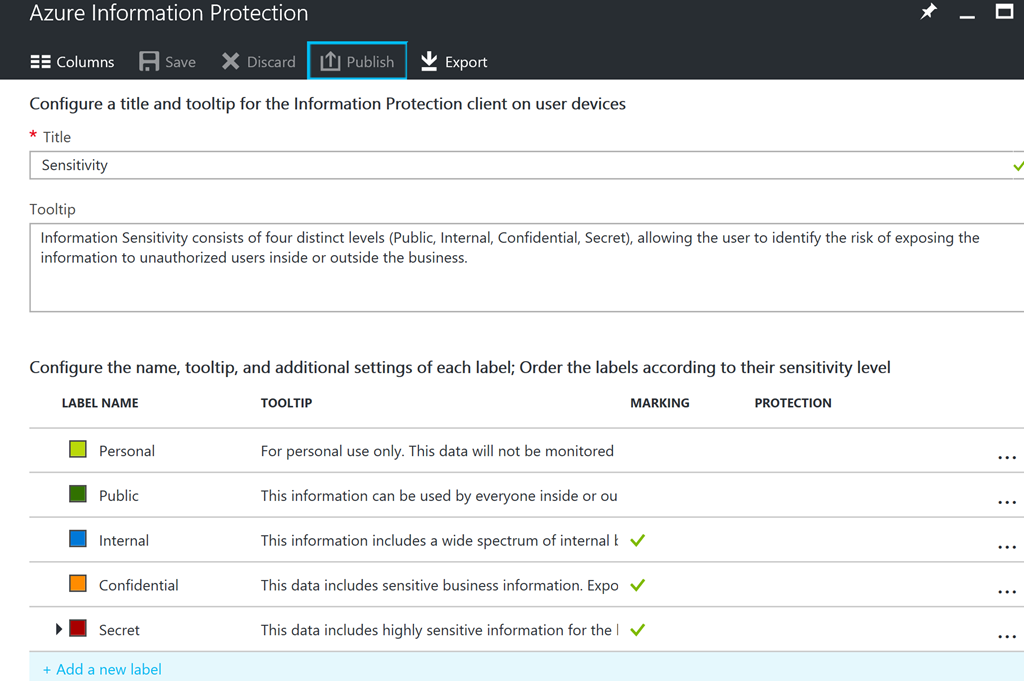
First, when I start the default configuration of Azure Information Protection, I will se these built-in classification labels:
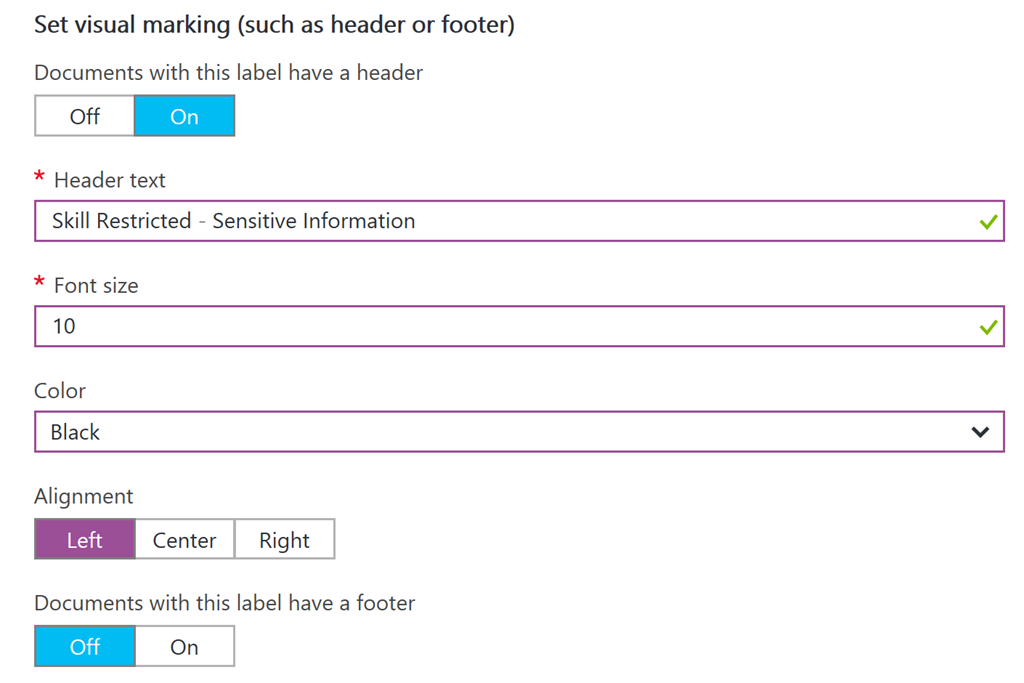
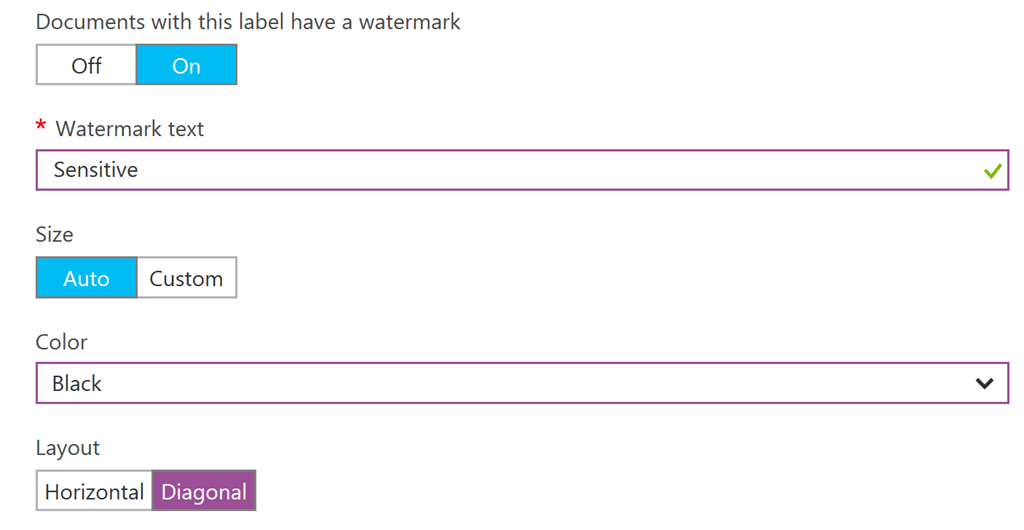
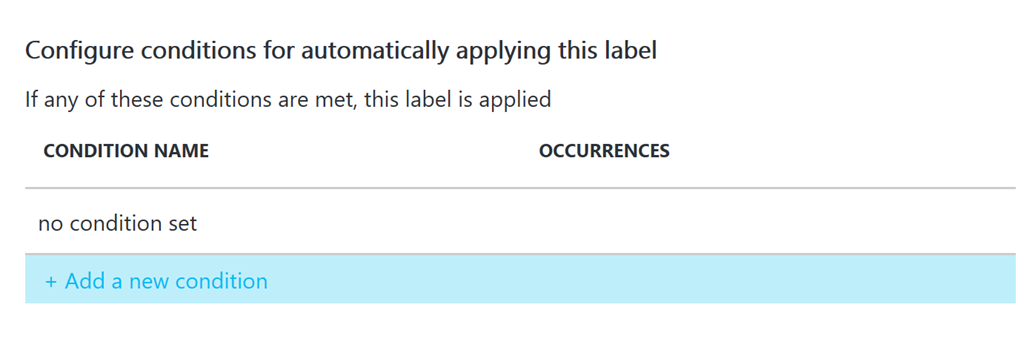
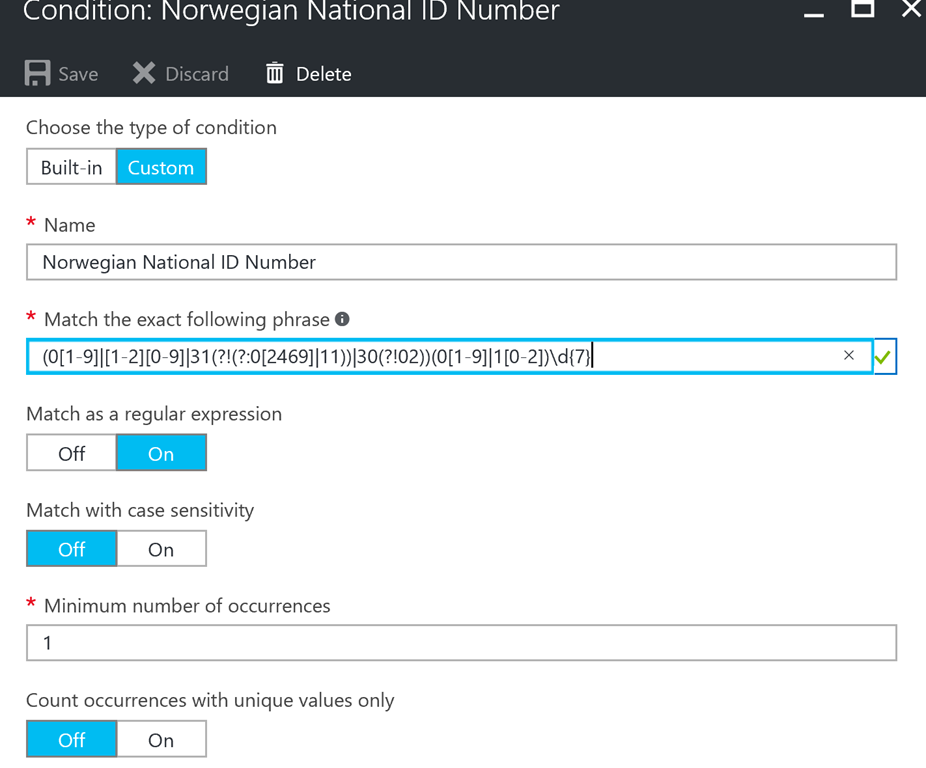
- If the 3 digits after the date were checked to be in the right group based on birth year
- If the last 2 digits were in fact modulus calculating on the previous
But for now this should be sufficient.
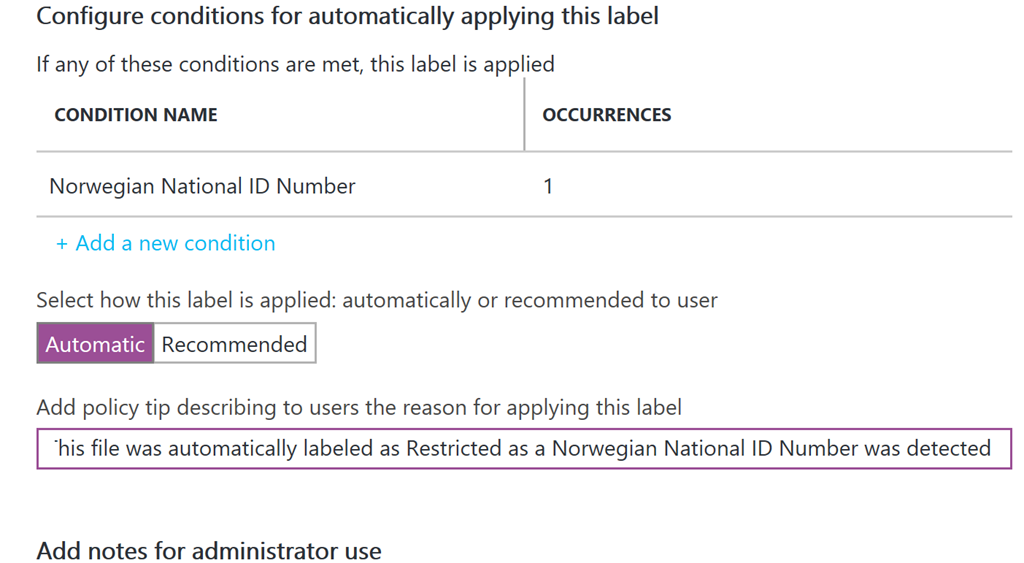
After adding that condition, I specify a tooltip for the end users:

Download and Install the Azure Information Protection Client
Next step is to Install the Azure Information Protection client on a PC that has Office installed. Download the client from from the Microsoft download center, https://www.microsoft.com/en-us/download/details.aspx?id=53018
.
Run AzInfoProtection.exe and follow the prompts to install the client. As we have configured the tenant with the default and customized label, it doesnt matter if you install the demo labels as the tenant settings will override.
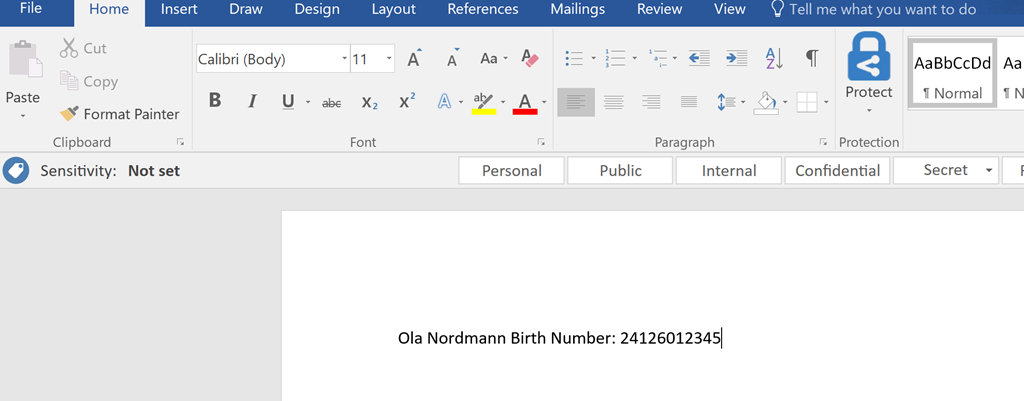
After installing the client and starting any Office program we will se the toolbar as shown below:

Testing Automatic Classification of National ID Number
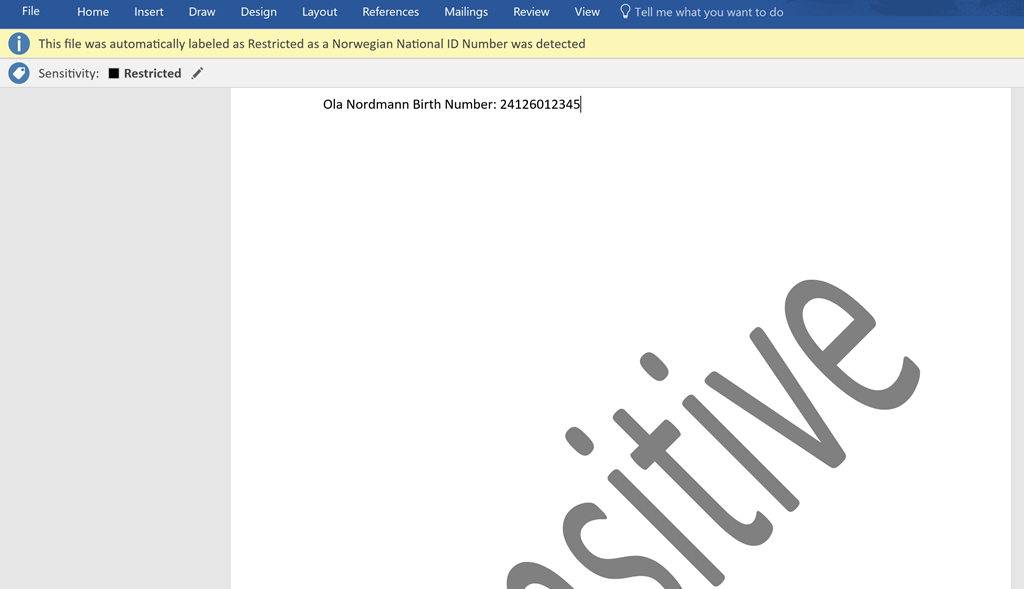
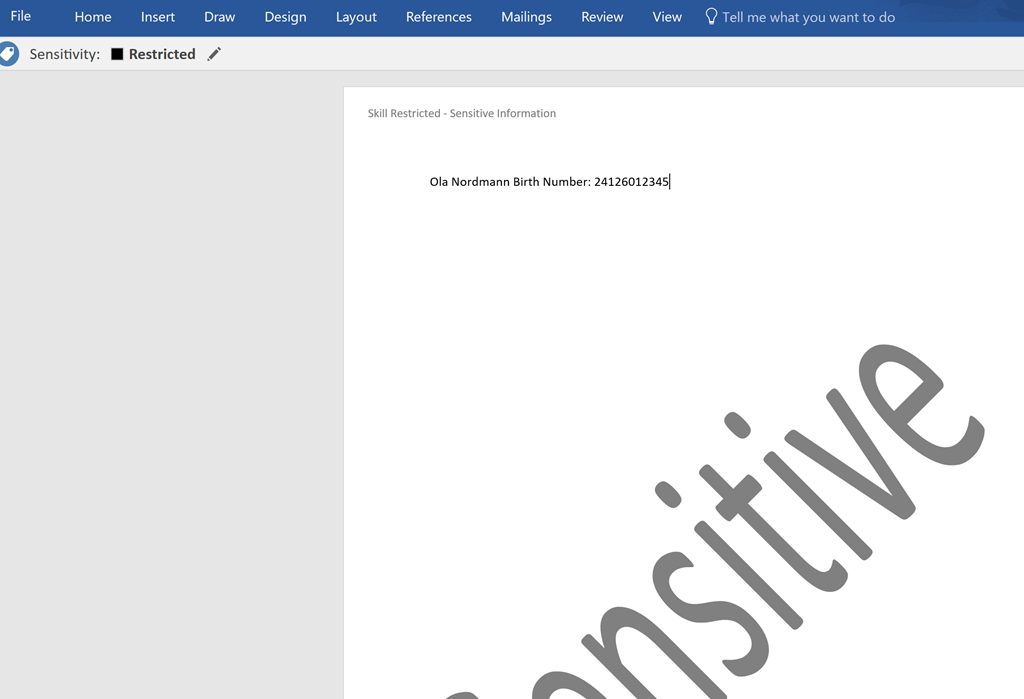
If I open a new document in Word and type in as below for an example valid National ID Number:
Configure Data Protection
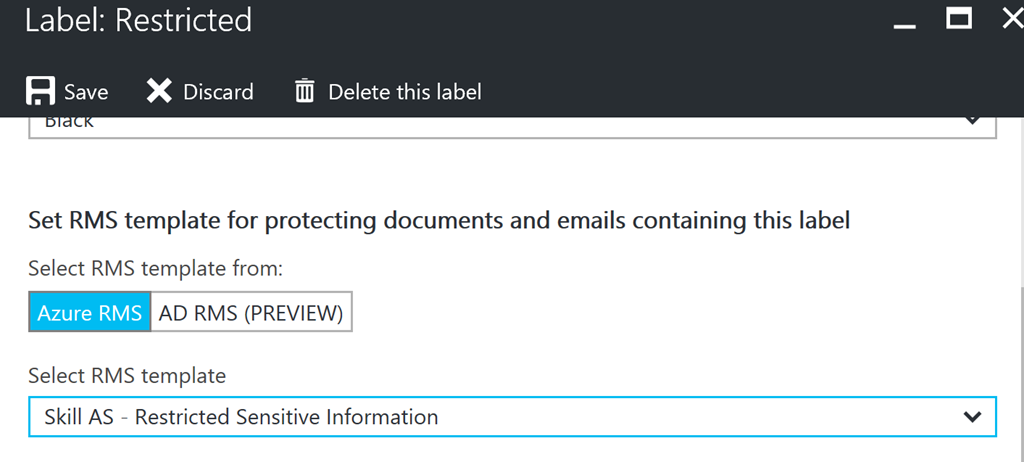
If we want to configure automatic data protection for classified documents I will need to either use an existing or create a new Azure RMS Template. In this case I will create a new template. This must, for now, be done in the old Azure Portal at manage.windowsazure.com, and under your Azure Active Directory and Rights Management settings.
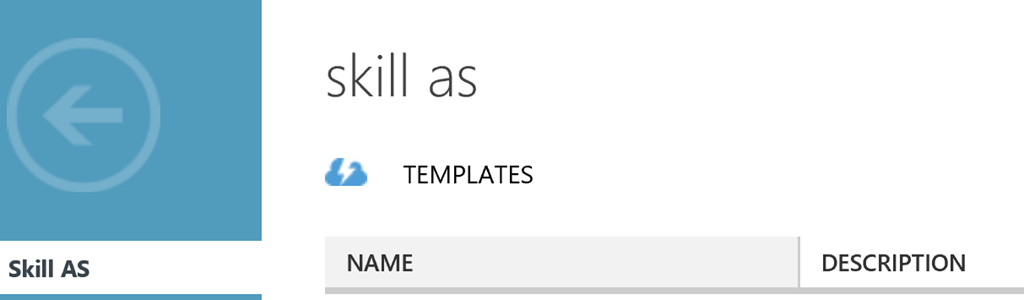
- Confidential - Confidential View Only
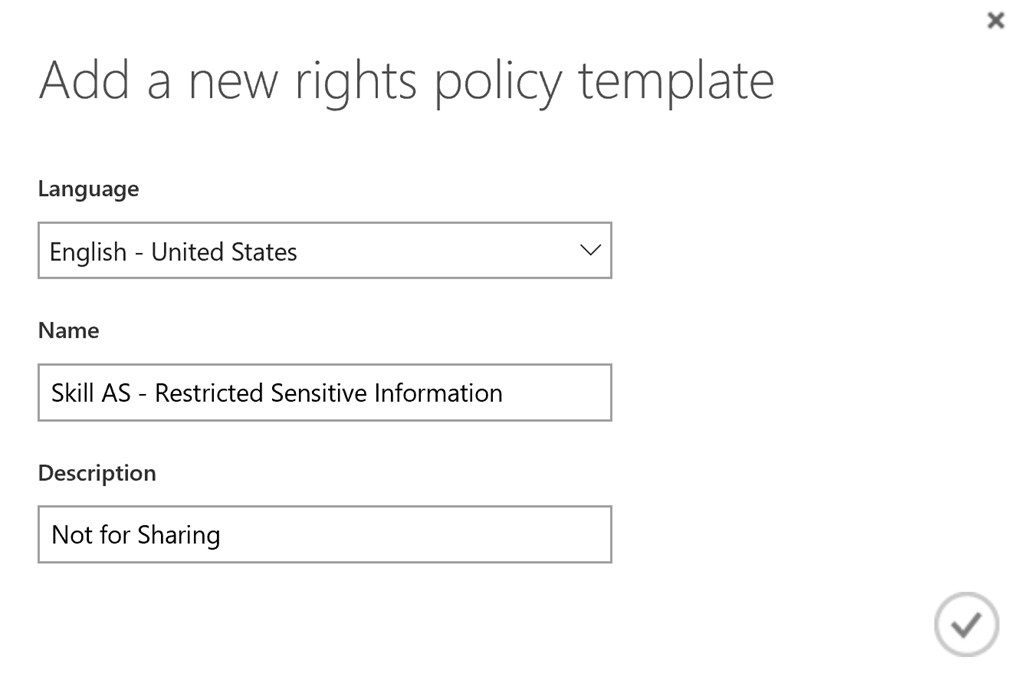
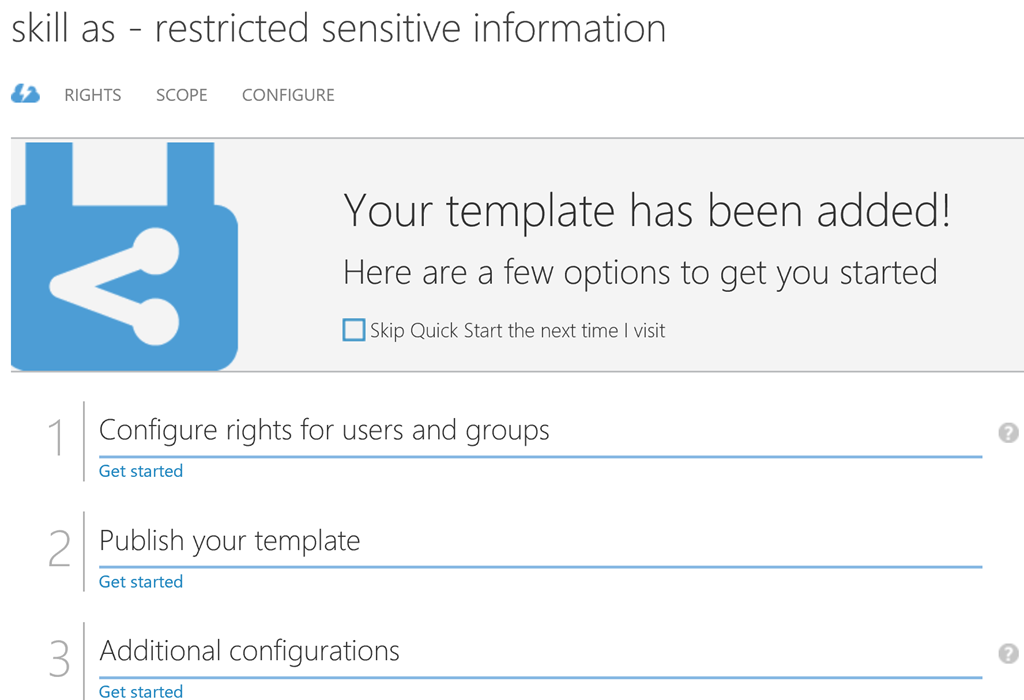
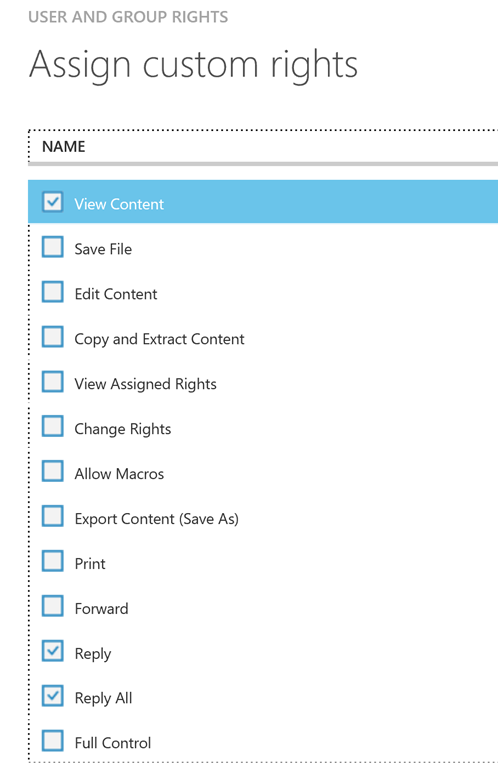
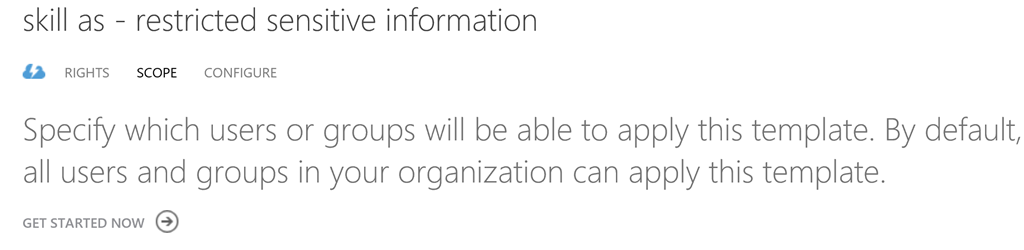
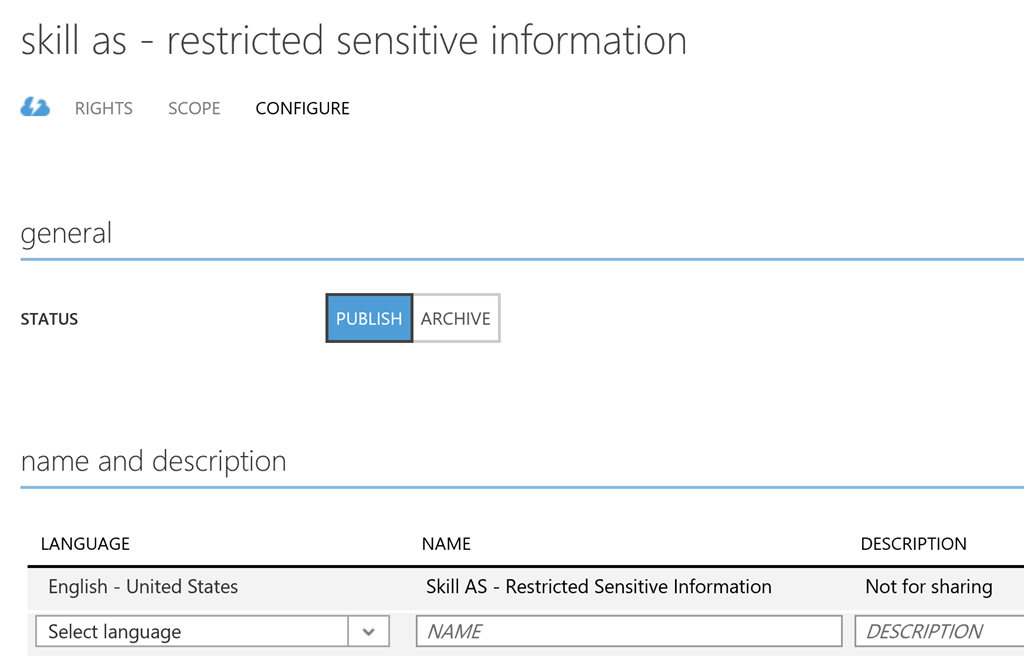
I will now create a new RMS template for my organization, which I will use for protecting documents that are classified as Restricted. First I specify language, name and description for the new template:
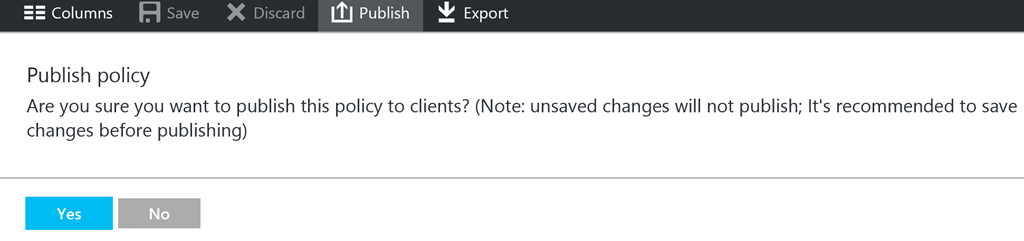
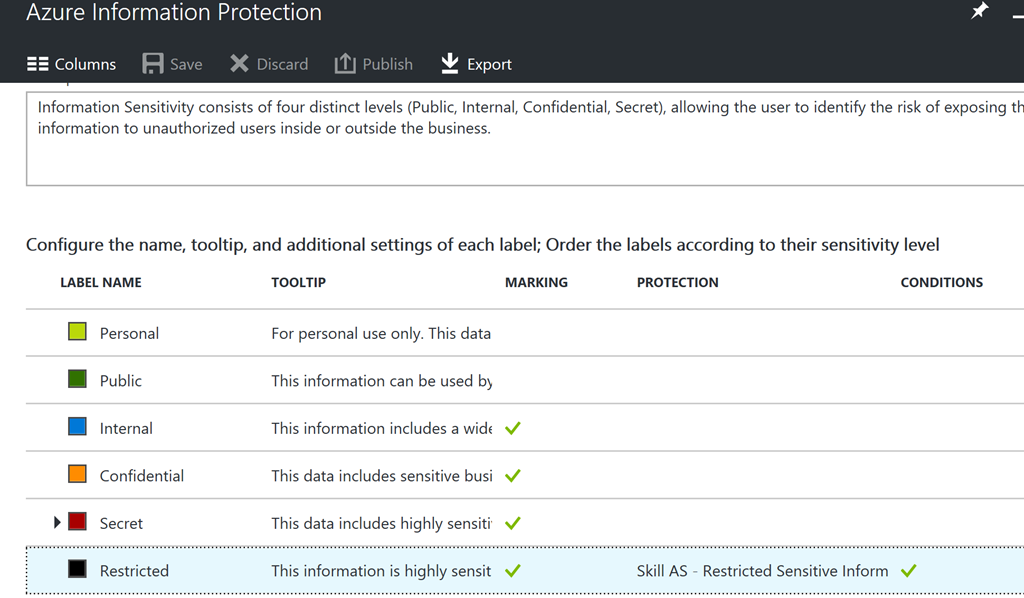
Testing Automatic Protection
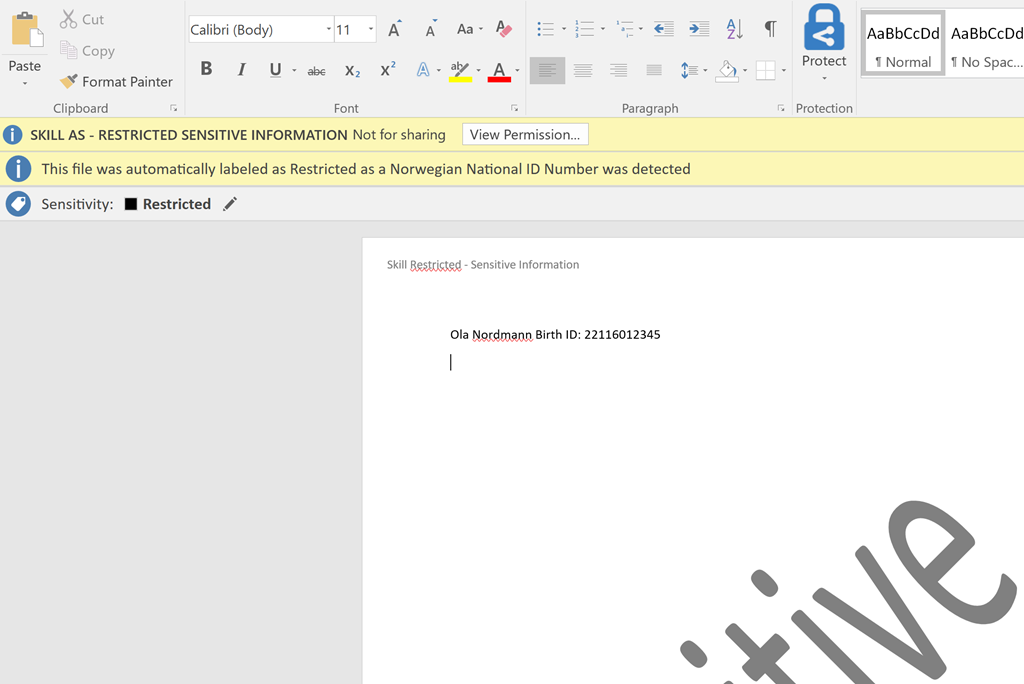
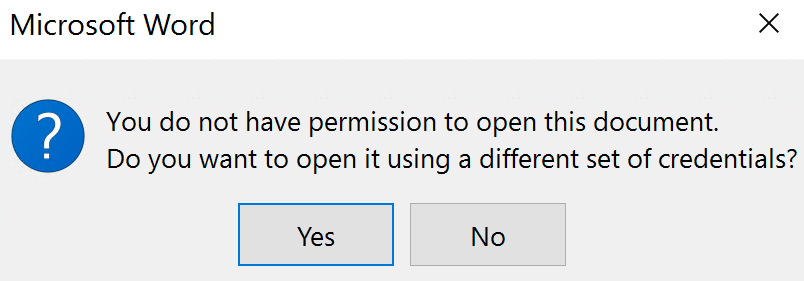
We will now test this in a new Word document. Once again I type a National ID Number and Save the document. And now I see that the document both is automatically classified and protected:
Classifying and Protecting Outlook E-mail
Does this only apply to Office documents? No, when you install the Azure Information Protection client you get the opportunity to classify and protect e-mails sent with the Outlook client as well.
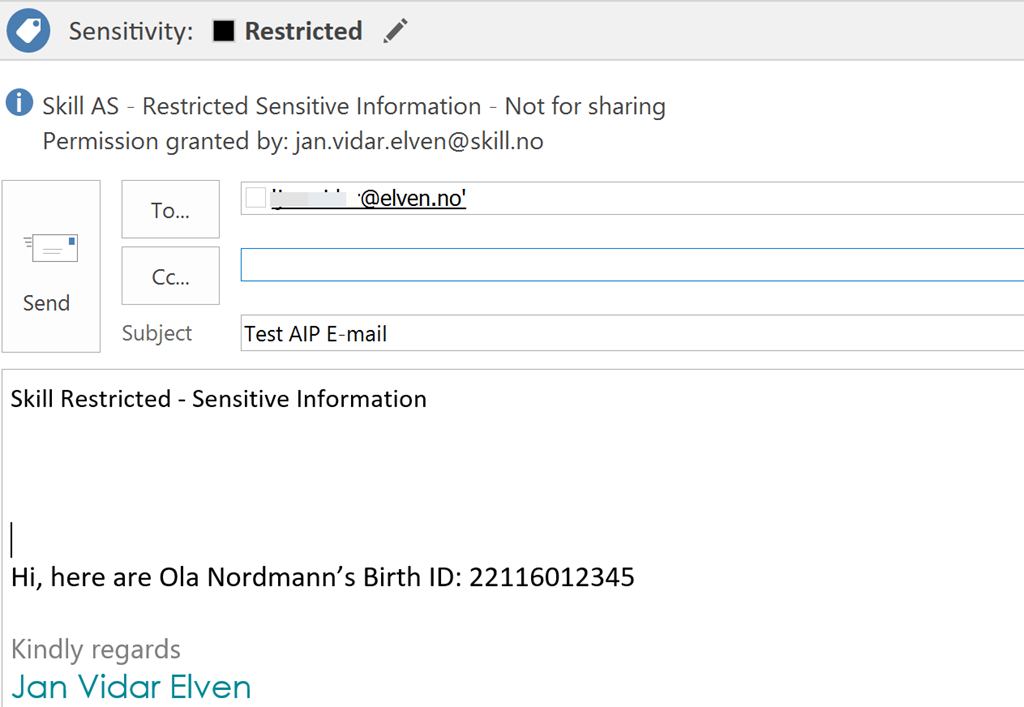
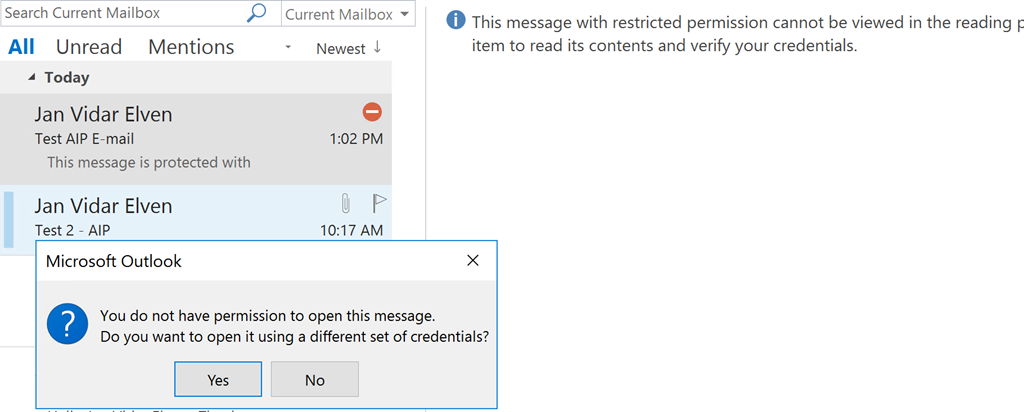
When I send an e-mail message that contains a Norwegian National ID Number and after I hit the Send button, the automatic classification and protection will be applied to the e-mail:
Conclusion
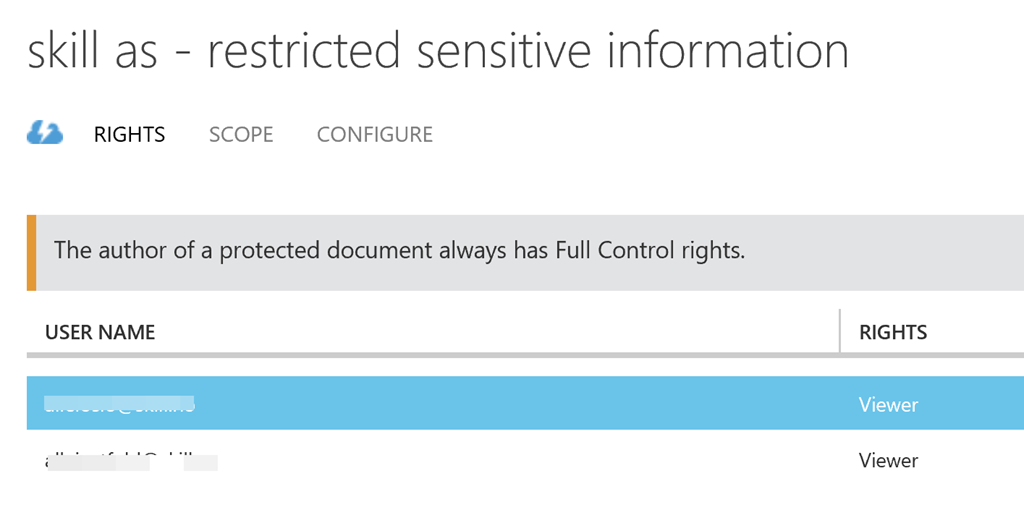
In this blog post I have shown how you can use Azure Information Protection (AIP) to classify Office documents and Outlook e-mails and how you can use conditions to automatic apply that classification based on for example a Norwegian National ID Number detection with the use of a regular expression. In addition I have shown how you can use Azure RMS and a template to automatically encrypt that document and set the permissions for the users in my organization that only allows viewing.